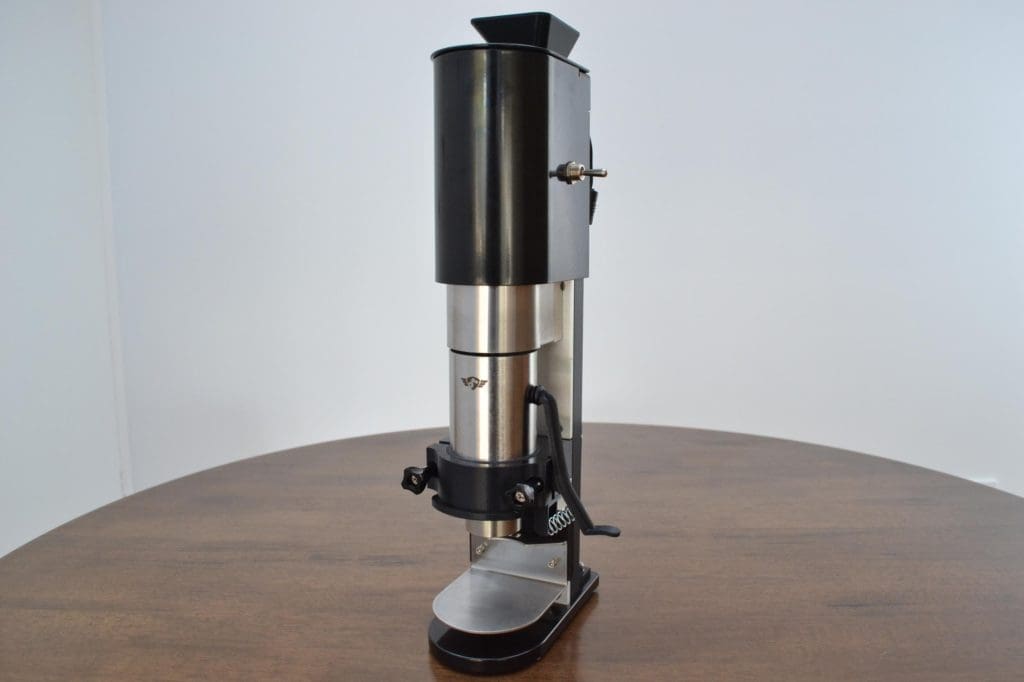
Step 1: Prepare motorizer by removing front support bracket by loosening and removing the two front thumb screws.
 Your motorizer should have the front support bracket and thumbscrews removed as shown in this image.
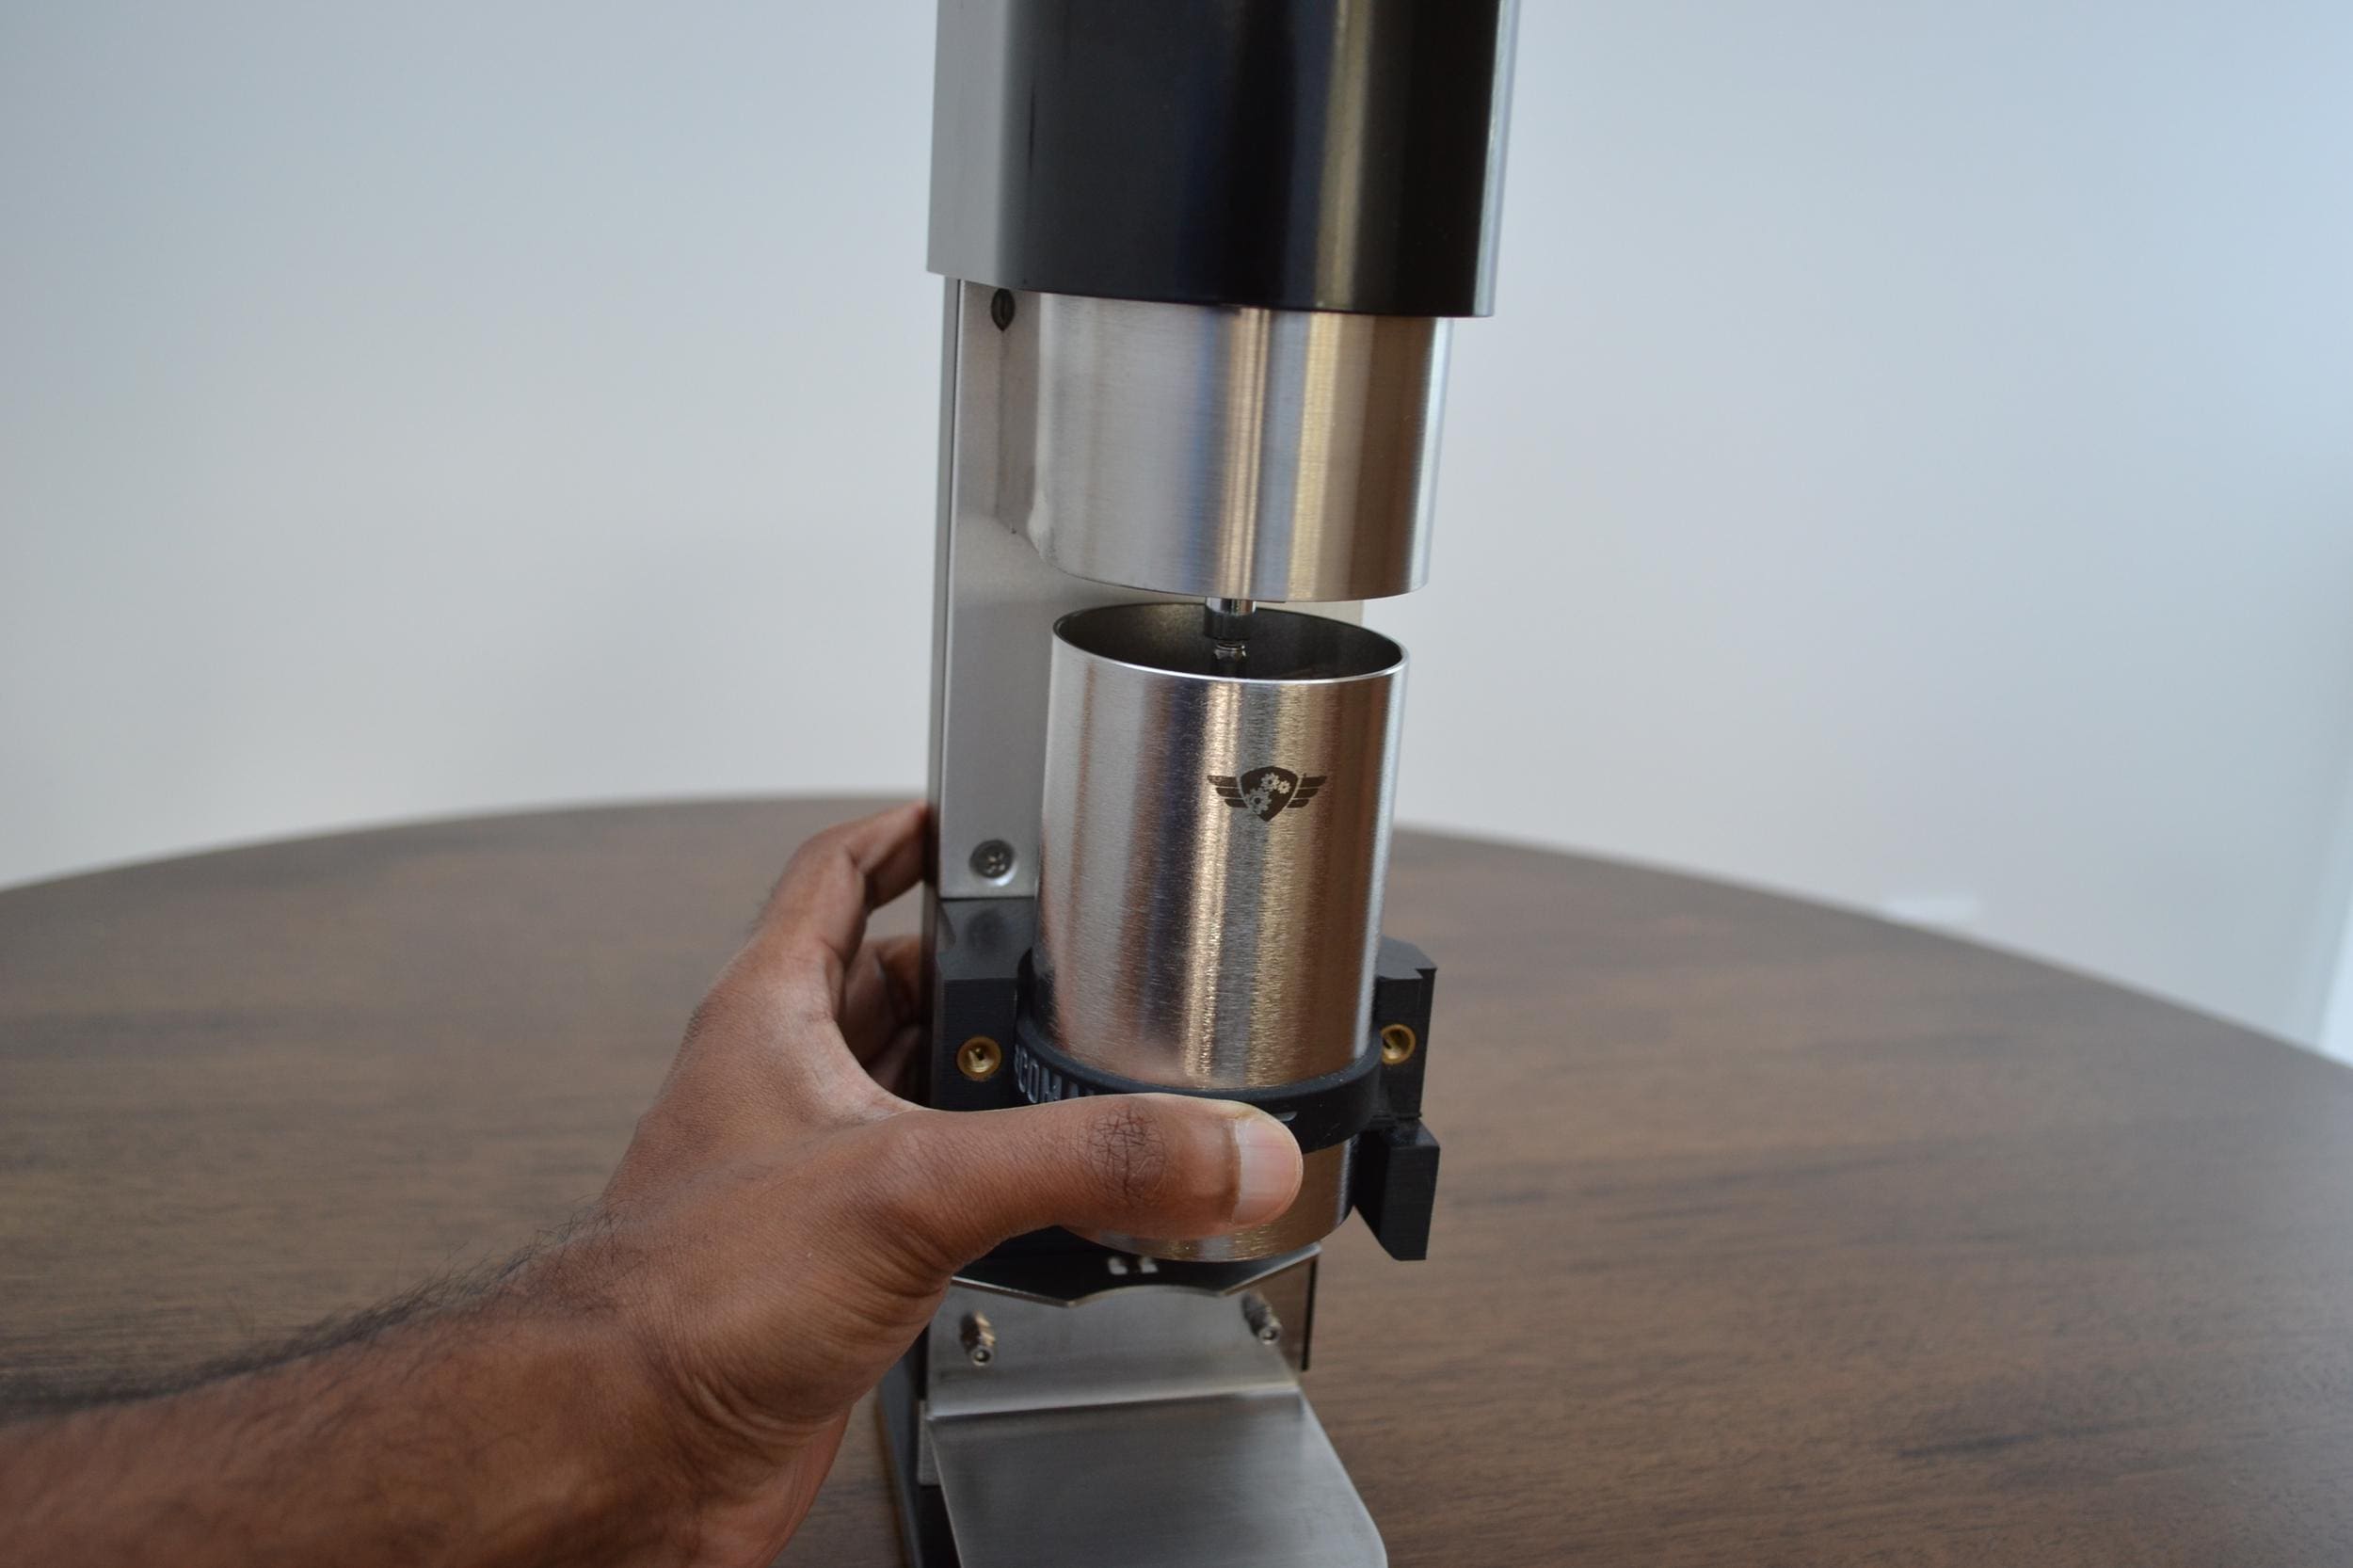
Step 2: Remove jar from Comandante C40 grinder.
 Comandante grinder with grounds collection jar removed
Step 3: Fit band onto grinder at an even level in line with the top of the front support bracket.
 Lining up the rubber band before installation


Step 4: Fit one thumbscrew through right side of front support bracket along with the striker.
 Thread the thumbscrew through the front support bracket and the striker

Step 5: Fix the grinder into the hex driver then use the front support bracket with the striker to loosely hold the grinder into place. Then use the front support bracket assembly from the last step to hold the grinder in place. Make sure the grinder lower lip is just below the level of the front support bracket. Tighten the right thumbscrew until the screw until the striker lever doesn’t fall down when raised.
 Position the grinder below the hex driver then lift into the driver.


Step 6: Screw in the left thumbscrew until it just starts to apply pressure to the grinder allowing the grinder to still move up and down within the brackets.
 Tighten this left thumbscrew just enough to hold the grinder in place but still allow it to be adjust up and down

Step 7: Use the dosing funnel to raise the grinder within the support brackets until the brim of the dosing funnel is flush with the support brackets.
 Place dosing funnel underneath grinder

Step 8: The grinder is now positioned to be tightened into place. CAUTION! Do not overtighten. Tighten the left thumbscrew until the grinder stops to rotate in place. Check by trying to rotate the grinder by hand. Tighten screw by one quarter turn at a time when getting close.
 Tighten just enough so the grinder stops rotating by hand within the bracket

Step 9: Place one hand on the top of the motorizer to make it is stable as you fit the spring into the striker support bracket. First push the spring up against the striker spring knob then compress and slide into the spring support bracket.
 Compress spring against the knob on the striker

Step 10: Fix bean dosing funnel into top of motorizer
 Chute entry where the funnel is mounted

Step 11: Unpack your power supply, connect the mains power cable to the power supply and plug the DC barrel connector into the back of the motorizer.
 Power connector

Congratulations!! You’ve finished installation of your Madkat Motorizer!!